Travel photography tips for beginners: how to take photos you will actually love
Quick answer: Good travel photos come from soft light, simple composition, and a clear subject, not expensive gear. Shoot early or late in the day, place your subject off-center, keep horizons level, and take a few extra frames from different angles. Learn three basic settings, edit lightly, and back up your photos every night.
Most beginners worry about the wrong thing: which camera to buy. What matters more is learning to see — noticing the light, choosing what belongs in the frame, and waiting for the moment that tells the story of a place. These travel photography tips for beginners work with a phone or a dedicated camera, in a national park or a crowded city street.
What makes a travel photo look good?
A good travel photo has three things: clear light, a clear subject, and a clear feeling. If a viewer can tell what the photo is about within two seconds, you are most of the way there. If they also feel something, the photo will stay with them.
Before every shot, ask one question: what is this photo about? It might be a person, a building, a view, or a small detail like a doorway or a plate of food. Once you know the answer, remove everything that distracts from it. Step closer, change your angle, or wait for a passerby to move out of the frame. Beginners often try to include everything they saw. Strong photos do the opposite and include only what matters.
When is the best light for travel photos?
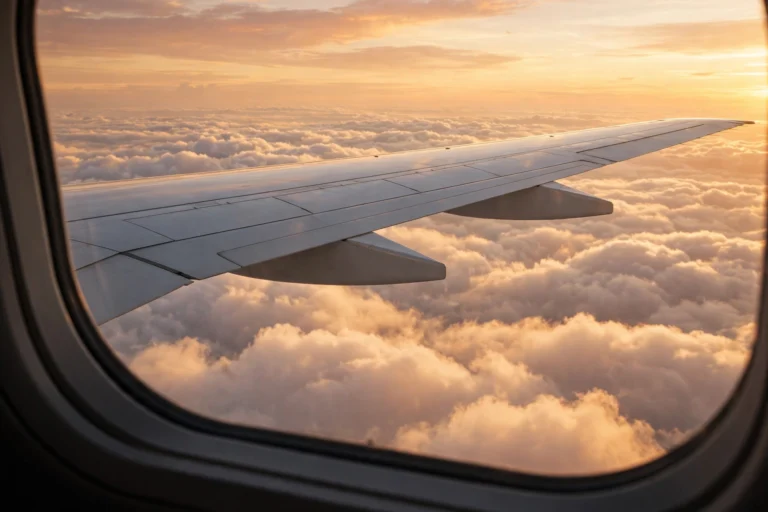
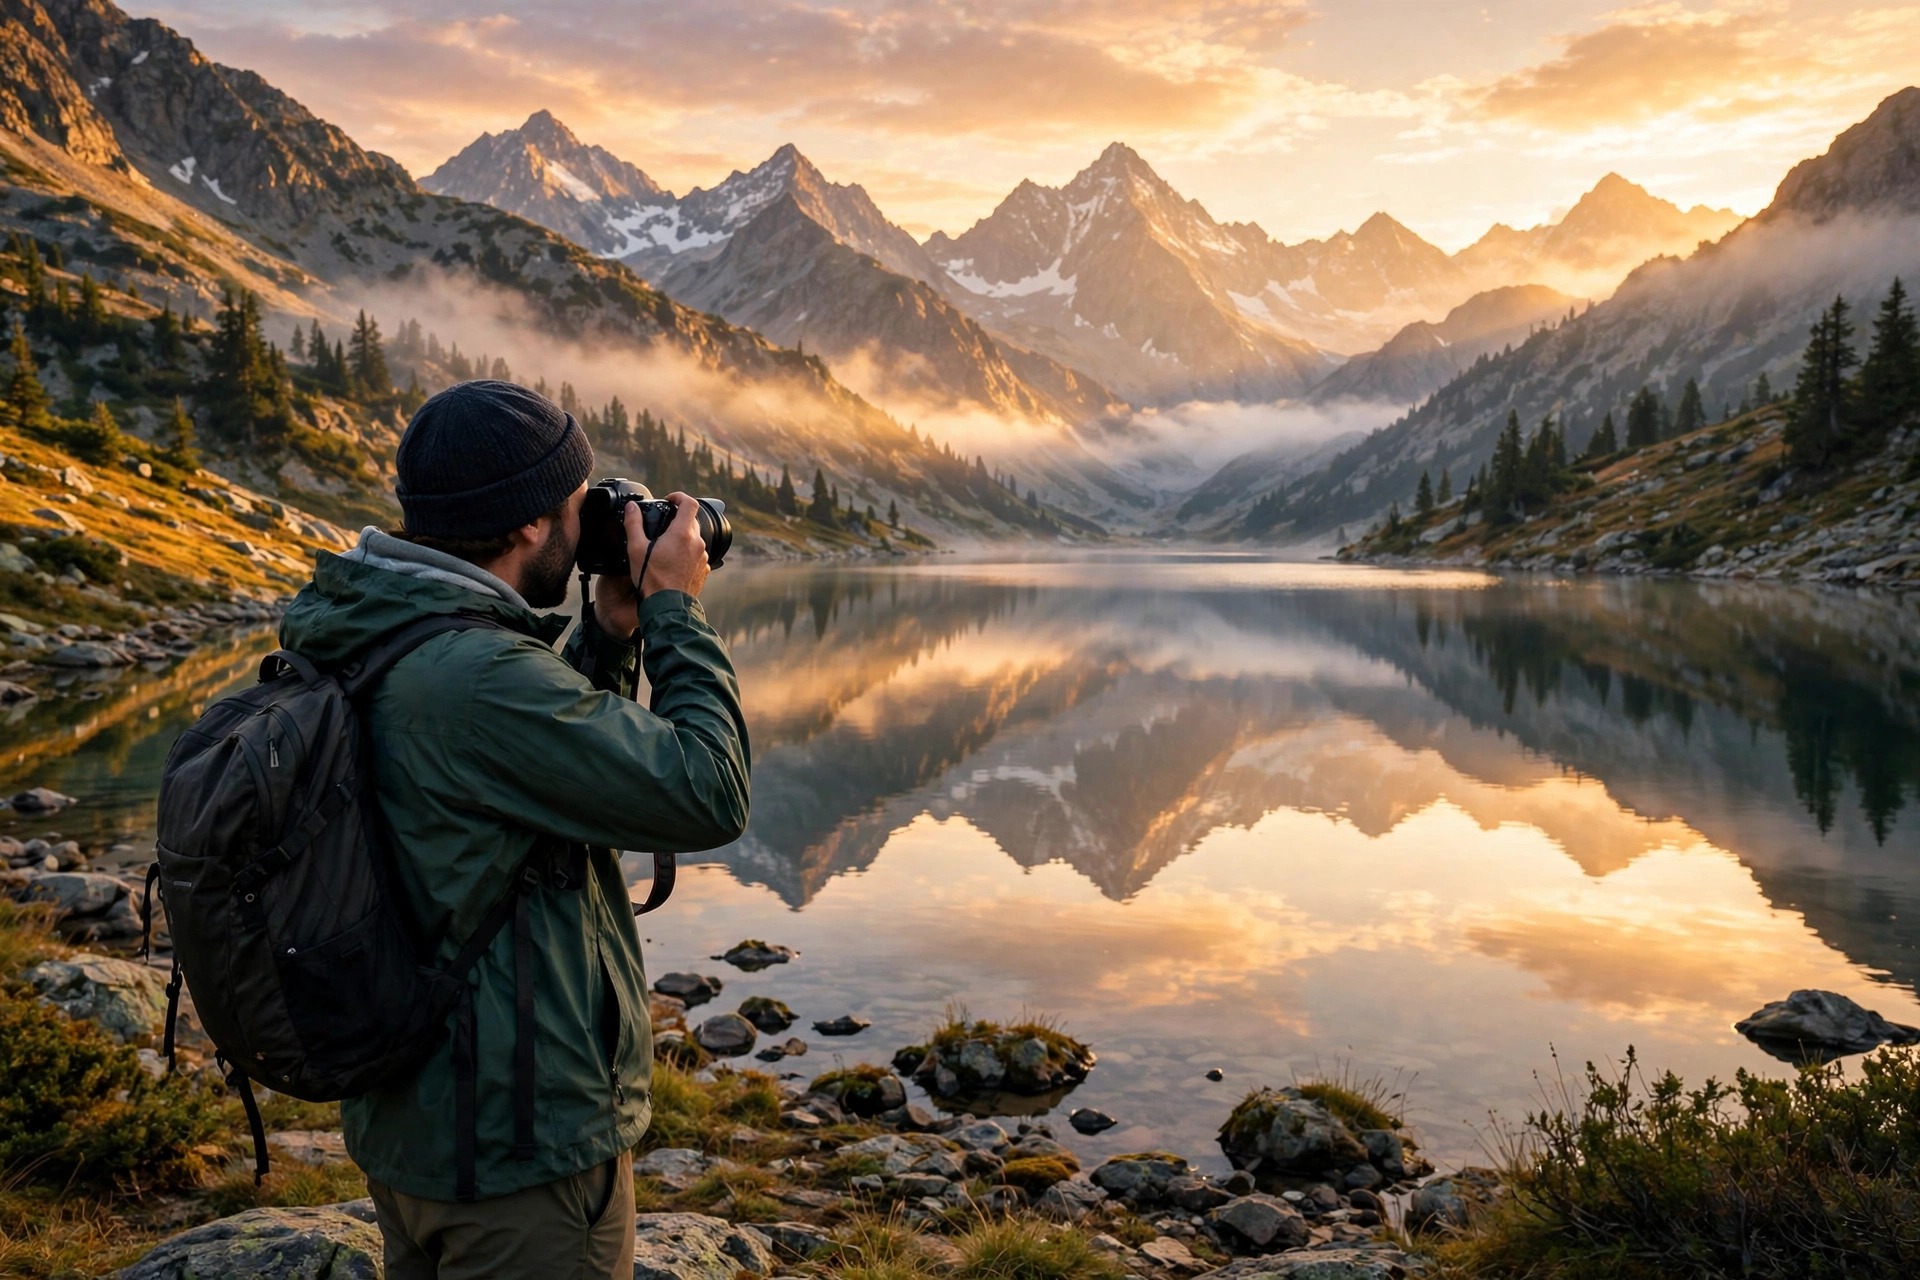
Light is the single biggest difference between an average travel photo and a beautiful one. The best light usually arrives in the first hour after sunrise and the last hour before sunset. Photographers call these the golden hours: the sun sits low, the light turns warm and soft, and long shadows add depth and shape to everything they touch. Faces look better, buildings glow, and landscapes gain a warmth that midday light never gives.
Midday light is the hardest to work with. When the sun is directly overhead, shadows fall straight down, colors look flat, and people squint. Change your approach instead: look for shade, shoot in narrow streets where buildings block the harsh sun, or turn to details, food, and interiors. Overcast days are a gift beginners often overlook — clouds act like a giant softbox, spreading even light across a scene.
How do you compose a photo that feels balanced?
Composition is simply how you arrange things inside the frame. The easiest rule to learn is the rule of thirds. Imagine your frame divided into nine equal rectangles by two horizontal and two vertical lines — most phones and cameras can show this grid for you. Place your subject where the lines cross, rather than dead center, and the photo will usually feel more balanced and more interesting.
Leading lines are another powerful tool. Roads, rivers, fences, and staircases pull the viewer’s eye toward your subject. Stand where a line leads into the scene and the photo gains depth. Framing works the same way: shoot through a doorway, an arch, or a gap between trees. Keep your horizons level and watch the edges of your frame for stray branches or half-cut signs.
Should beginners use a phone or a camera?
Either one can take wonderful travel photos. Modern phones are remarkably capable: they are always with you, they handle exposure automatically, and their built-in editing tools are good enough for most travelers. Your phone is the best camera you own, because it is the one you will actually carry and use.
A dedicated camera earns its place when you want more control. It performs better in low light, gives you a real zoom without losing quality, and lets you change lenses. The trade-off is weight and the time it takes to learn the controls. The table below compares the two options in plain terms.
| Feature | Phone camera | Dedicated camera |
|---|---|---|
| Ease of use | Very easy, mostly automatic | Takes practice to learn |
| Weight and size | Fits in a pocket | Needs a bag and a strap |
| Low-light performance | Good, improving every year | Usually stronger |
| Zoom quality | Limited, mostly digital | Optical zoom keeps detail |
| Creative control | Some manual controls | Full manual control |
| Editing and sharing | Built in, instant | Needs a transfer step |
| Best for | Everyday travel, quick shots | Slow trips, wildlife, night scenes |
Whichever you choose, learn it before you travel, so you spend your trip looking at the world instead of at menus on a screen.
What camera settings should a beginner actually learn?
You do not need to master every setting on your camera. Three are enough to transform your travel photos: aperture, shutter speed, and ISO. Together they control how much light reaches the sensor and how the photo looks. You do not need to understand the physics — you need to know what each one does in practice.
Aperture controls how much of the scene is in focus. A wide aperture blurs the background and makes your subject stand out. A narrow aperture keeps everything sharp from front to back. Shutter speed controls motion: a fast shutter freezes a moving subject, while a slow shutter blurs motion. ISO controls sensitivity to light. Low ISO gives the cleanest image and is best in daylight; high ISO lets you shoot in dim restaurants and at dusk, but it adds grain.
How do you photograph people while traveling?
People make travel photos come alive. A street vendor, a friend laughing at dinner, or a child playing in a plaza can say more about a place than any building. The key is respect. In many places, a smile and a simple gesture toward your camera is enough to ask permission. If someone says no or turns away, accept it gracefully and move on. Never photograph someone who has asked not to be photographed, and be especially careful around children and in places of worship.
For portraits of your own travel companions, get closer than you think you need to. Fill the frame with the person and let the background tell the story. Ask them to do something natural instead of standing stiffly and staring at the lens. Watch the background behind people’s heads: a pole or branch growing out of someone’s head is a classic mistake that one step to the side will fix.
How do you take better photos in cities and busy places?
Cities are wonderful for beginners because they are full of subjects, but they are also full of distractions. Slow down and choose one small story at a time. Instead of trying to capture an entire skyline, photograph a single street corner, a cafe window, or a mural. Small, focused photos often feel more honest than wide shots.
Early morning is the best time to photograph popular places: streets are quieter, the light is soft, and you can photograph landmarks without crowds blocking the view. Notice the details that make a city distinct — ironwork on a balcony, tiles on a wall, light falling down a narrow lane. Those details make a city feel real in your photos, and they are exactly the kind of thing worth seeking out when you are wandering through timeless cities where craftsmanship defines every street corner.
How do you photograph landscapes and nature?
Landscape photography rewards planning and patience more than any other kind. Before you shoot, spend a few minutes just looking. Find a foreground element — rocks, flowers, a fence, a shoreline — that gives the viewer a way into the scene. Without a foreground, even a grand view can feel flat. With one, the photo gains depth and scale.
Water, mountains, and deserts all photograph best in soft light. If you reach a viewpoint at midday, consider returning later rather than settling for a flat, harsh version. Take several versions: one wide shot for the whole scene, one tighter shot that isolates the most interesting part, and one from a lower or higher angle. Stay on marked paths, do not trample plants for a better angle, and keep a respectful distance from wildlife.
How should beginners edit travel photos?
Editing is where good photos become great ones, but the goal is to enhance reality, not replace it. Start with small adjustments: straighten the horizon, crop out distractions at the edges, and gently adjust brightness and contrast. If your edit is obvious at a glance, you have gone too far.
Work in a simple order. First fix the crop and the horizon. Then adjust exposure so the photo is neither too dark nor too bright. Then adjust white balance if the colors look too yellow or too blue. Finally, add a touch of contrast and sharpening. Avoid applying the same heavy preset to every photo: a sunny beach, a dim restaurant, and a foggy mountain need different treatment. The same restraint applies when you turn photos into a video, and a clear guide to how to make travel videos with AI step by step for creators can help you plan the story before you start editing.
How do you protect and back up your travel photos?
Losing your travel photos is one of the worst feelings a traveler can have, and it is almost always preventable. The rule is simple: never keep your photos in only one place. Back them up every night, while the day is still fresh and the memories are easy to sort.
Copy each day’s photos to a second location as soon as you are back at your hotel — a laptop, a portable drive, or a cloud backup over the hotel Wi-Fi. Before you format a card, double-check that its photos exist in at least one other place. At the end of each day, delete the obvious failures and mark your favorites, and name your folders by date and place. Pack light, too: your camera or phone, a spare battery or power bank, a couple of memory cards, and a lens cloth are enough.
How do you keep improving after your first trip?
Improvement comes from reviewing your work honestly. When you get home, spend an evening looking through your photos and asking what worked and what did not. Which photos make you feel something, and which ones are forgettable? You will start to see patterns — perhaps your best shots were all taken in the morning. Those patterns tell you exactly what to practice next time.
Study photos you admire actively. When a travel photo catches your eye, ask what the photographer did: where is the light coming from, where is the subject placed, what did they leave out? Then try one of those ideas on your next trip.
Every destination teaches you something new about seeing. A few days among ancient temples and busy markets will sharpen your eye for color and crowds — the things to do in Siem Reap, Cambodia are good practice for a beginner. A coastal city with bold light and open plazas will teach you about shadows and scale — start with a guide to what to do in Valencia, Spain’s most vibrant city. Open landscapes and desert light will teach you patience, and Dubai’s top outdoor experiences for adventure lovers offer wide horizons worth practicing on. And a few unhurried days on an island will show how much a place reveals when you stop rushing, as the five days in Malta that made the trip show.
Frequently asked questions
What is the best camera for a beginner travel photographer?
There is no single best camera for every beginner. A modern phone is the best starting point for most travelers because it is always with you and easy to learn. If you want more control, a lightweight mirrorless camera with a versatile zoom lens is a popular next step.
How do I take good travel photos with just a phone?
Clean the lens, tap to focus on your subject, and shoot in the best light you can find, usually early morning or late afternoon. Turn on the grid to help with composition, avoid digital zoom when you can move closer instead, and take several frames of each scene.
What time of day is best for travel photography?
The first hour after sunrise and the last hour before sunset usually give the softest, warmest light. These golden hours are ideal for landscapes, portraits, and city views. Midday light is harsher, so use that time for shade, interiors, and details.
How can I take better photos of famous landmarks?
Arrive early to avoid crowds, and look for a fresh angle instead of the standard postcard view. Include a foreground element, a person for scale, or a frame like an arch or a doorway. Try shooting from a lower angle or from a side street.
Should I edit my travel photos?
Yes, light editing almost always helps. Straighten the horizon, crop out distractions, and gently adjust brightness, contrast, and color. Keep the result natural — if the edit is obvious, it is probably too strong. Always keep a copy of the original photo.
How do I back up photos while traveling?
Copy each day’s photos to a second location every night, such as a laptop, a portable drive, or a cloud backup over Wi-Fi. Keep your memory cards as an extra copy until you are home. Delete obvious failures each evening and mark your favorites.